
To make a platformer game, start with one short level and one clear loop: move, jump, avoid danger, and reach the goal. Decide how the player should feel, choose a creation tool, build a rough playable version, and test every jump before adding more art or features.
This guide takes you from a small idea to a game you can publish and share. You can use an AI platformer game maker, a no-code game creation tool, or a traditional engine.
Turn your idea into aplayable platformer game
Describe the game you want to make, and SoonLab will help you start building it.
What Is a Platformer Game?
A platformer is a game built around moving between platforms. Players usually run, jump, avoid hazards, collect rewards, and reach an exit. A 2D platformer uses a side or fixed view, while a 3D platformer lets players move through a three-dimensional space.
If you want to test three-dimensional movement without setting up a traditional engine, you can use SoonLab to create a 3D platformer with a third-person camera, responsive movement, collision, moving platforms, checkpoints, hazards, collectibles, and a clear destination.
The genre looks simple, but its quality depends on control. If movement feels slow, jumps feel random, or hazards are hard to see, the game becomes frustrating.
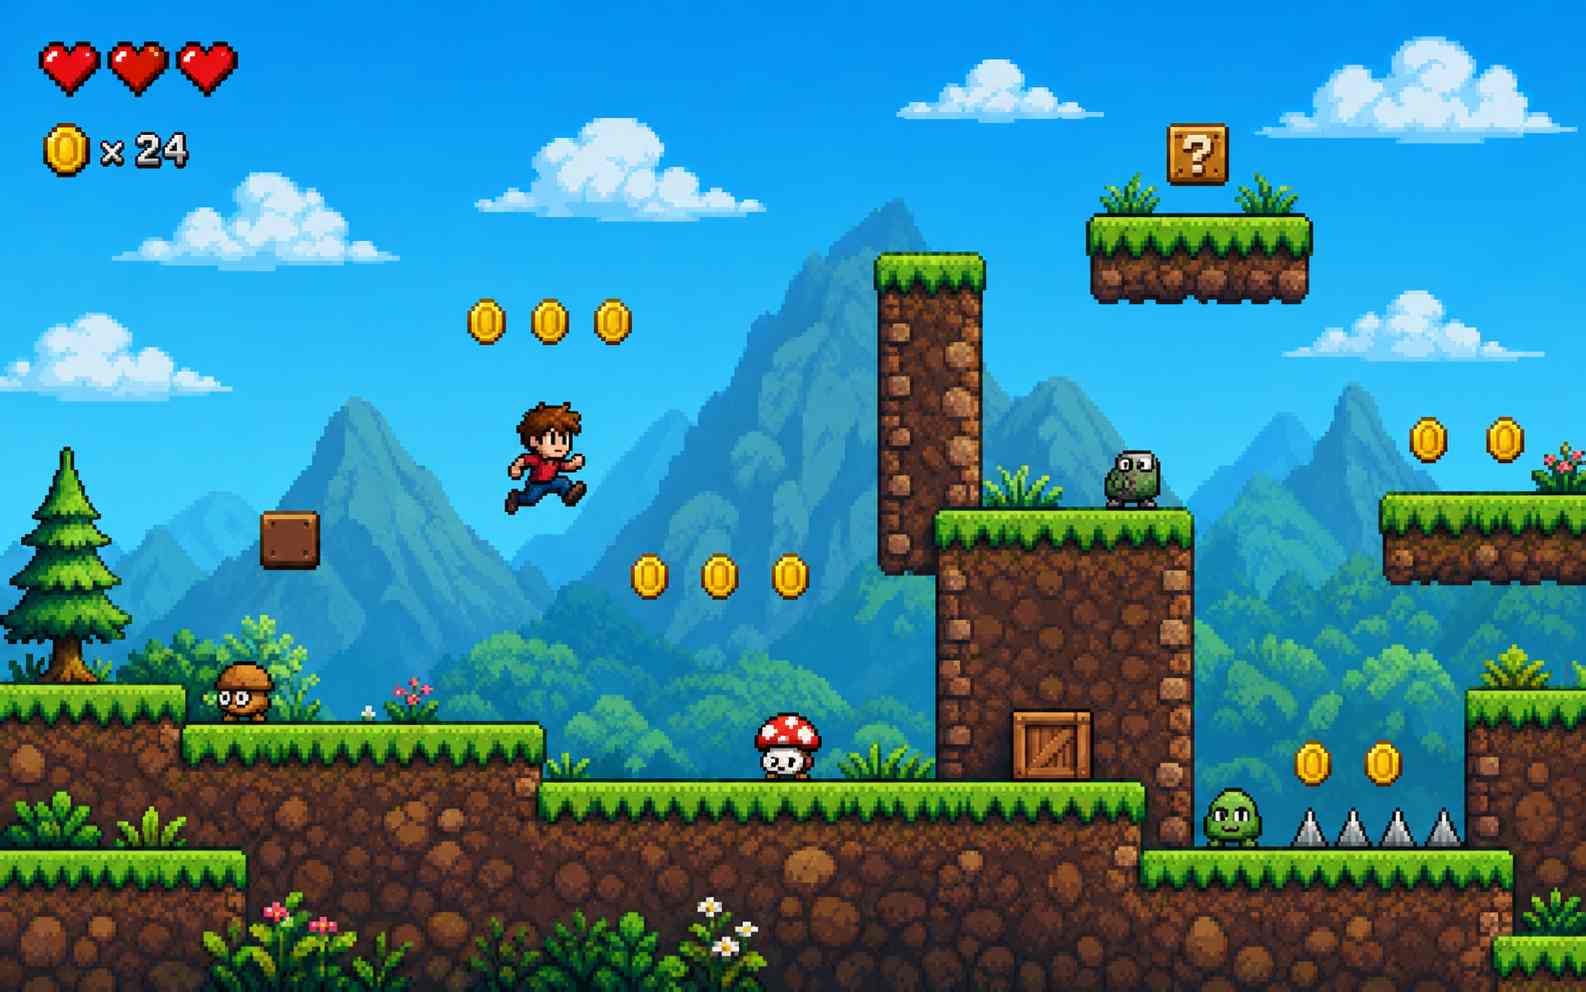
Before designing your own levels, it helps to study how successful games handle movement, difficulty, collectibles, checkpoints, and visual feedback. Explore our guide to the best platformer games to find examples that are still worth playing and learning from.
What You Need Before You Start
Prepare five things before opening a platformer game maker:
- A one-sentence concept
- Basic controls
- A clear win condition and lose condition
- A rough level sketch
- One creation method
Keep the first version small. One character, one level, one goal, two hazard types, and a few rewards are enough.
How to Make a Platformer Game Step by Step
Step 1: Choose a Small Game Idea
Give the game one theme and one twist. For example: “A small robot climbs a storm tower and collects three energy cells before reaching the exit.”
Avoid a large world, complex story, crafting system, or multiplayer mode. Your first version should prove one fun idea.
Step 2: Define the Core Gameplay Loop
The core gameplay loop is the action players repeat. A simple loop might be:
- Move toward the next platform.
- Time a jump.
- Avoid a hazard or enemy.
- Collect a reward.
- Reach a checkpoint or exit.
Write the loop in one line. If it is unclear on paper, it will be unclear in the game.
Step 3: Plan Movement and Jumping
Build movement before art, enemies, or menus. Test left and right movement, jump height, time in the air, landing, and collision detection—the rule that stops the player passing through solid objects.
As a starting point, let a normal jump rise about 1.5 to 2 character heights. Make early gaps use only about two-thirds of the player’s maximum jump distance. The player should cross one screen in several seconds, not instantly. These are test values, not fixed rules.
Controls should react as soon as a key is pressed. Keep jump arcs consistent so players can learn them. If a jump feels unfair, adjust movement speed, jump force, gravity, platform spacing, or the camera before adding more challenges.
Step 4: Add Goals, Platforms, Hazards, Enemies, and Rewards
Give every element a job:
- Goal: a door, flag, portal, or item that ends the level
- Platforms: safe ground and routes through the level
- Hazards: spikes, pits, lava, or moving objects
- Enemies: simple moving obstacles that change jump timing
- Rewards: coins, stars, keys, or optional secrets
Show hazards before the player must react. Do not hide spikes under a blind landing. Place rewards where they teach a route, invite a harder jump, or confirm progress.
Step 5: Choose a Creation Method
Choose based on what you want to learn.
- Use an AI or no-code maker for fast idea testing.
- Use a visual game maker to build logic without much typing.
- Use a traditional game engine if you want deeper control and coding skills.
- Use an educational tool like Scratch if learning programming is the main goal.
If you have already chosen Scratch, follow this dedicated guide on how to make a platformer on Scratch. It covers sprites, blocks, gravity, and collision inside the Scratch editor.
Turn your idea into aplayable game
Describe the game you want to make, and SoonLab will help you start building it.
Step 6: Create the First Playable Version
Build a rough “gray-box” level using simple shapes. This playable game prototype should include a start, ground, three to six platforms, one hazard, and an exit. Ignore polished art until the whole level can be completed.
Test after each change. A playable square with good movement is more useful than a beautiful character in a broken level.
Step 7: Design Levels With Gradual Difficulty
Use a teach–test–combine pattern:
- Teach: introduce one safe jump or hazard.
- Test: ask the player to use it with slightly more pressure.
- Combine: mix it with an enemy, moving platform, or longer gap.
Increase one difficulty factor at a time. Shorten platforms, widen gaps, add movement, or reduce safe space—but not all at once.
Add a checkpoint before or after a demanding section. A checkpoint saves progress so a mistake does not force the player to repeat too much easy content.
Step 8: Test and Improve the Game
First, complete the level yourself several times. Then ask someone who has not seen it to play without instructions.
Watch for these signals:
- Do they understand the goal?
- Do controls respond quickly?
- Can they judge jump distance?
- Can they see hazards before landing?
- Where do they fail more than once?
- Is the checkpoint close enough to the hard part?
- Does winning or losing give clear feedback?
Change one variable at a time, then test again. If players fail in different places, the level may be challenging. If everyone fails at the same jump, the jump may be unclear or unfair.
Step 9: Publish and Share It
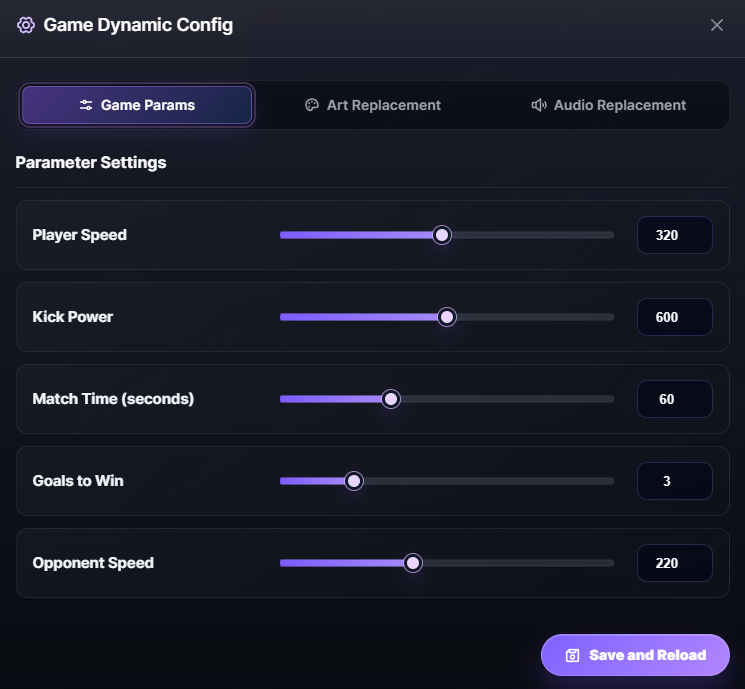
Before publishing, test the start, restart, win, and lose flows. Remove dead ends and check that every level is possible. Add a short control note and a clear title.
Choose a format your tool supports, such as a browser game link or downloadable build. Ask early players what felt good, what felt confusing, and where they stopped playing. Use that feedback for the next version.
Best Tools for Making a Platformer Game
| Method | Best for | Main trade-off |
|---|---|---|
| AI game maker such as SoonLab | Turning a text idea into a playable browser prototype | You still need to test and refine the design |
| No-code or visual maker | Hands-on control with less coding | Advanced custom behavior may take more setup |
| Traditional 2D engine | Learning coding and building custom systems | Longer learning curve |
| Educational game maker | Learning game logic step by step | May be less suited to a polished commercial project |
The best tool is the one that lets you finish a small game. You can move to a more advanced engine after you understand the loop and level design.
Example Platformer Prompt
Beginners using SoonLab can describe the game type, controls, goal, platforms, hazards, enemies, rewards, visual style, and win and lose conditions. For more structures and examples, explore these AI game prompts.
Create a short 2D browser platformer called Sky Parcel. The player is a small courier robot. Use the arrow keys or A and D to move, and Space to jump. Build one short level with six platforms. The goal is to collect three delivery chips and reach a green exit door. Add two visible spike pits, one slow patrolling drone, and one checkpoint after the third platform. Use a bright pixel-art style. The player wins after collecting all three chips and reaching the door. The player loses a life after touching spikes or the drone and can restart quickly. Keep the game simple and easy to test.
Use the first result as a prototype. Play it, note what feels wrong, and revise one part of the prompt at a time.
Common Platformer Design Mistakes
- Starting too big: Finish one short level before planning a world.
- Polishing art too early: Prove movement and level flow first.
- Changing jump rules: Keep the same input predictable across the game.
- Using blind hazards: Let players see danger before they commit.
- Adding too many enemies: Test one enemy pattern before copying it.
- Skipping checkpoints: Avoid long repeats after one hard jump.
- Testing alone: New players reveal unclear rules you already understand.
- No clear ending: Use an obvious win state and a clear restart after failure.
FAQs
Are 2D platformers hard to make?
A basic 2D platformer is a good beginner project because its main loop is small. Making movement feel good and building fair levels still requires testing.
Can I make a platformer game without coding?
Yes. AI game makers and visual tools can create or configure common platformer behavior without traditional coding. You still make the design decisions and test the result.
What is the best software for a beginner platformer?
Choose an AI or no-code tool for a fast prototype, an educational tool for learning logic, or a traditional engine for deeper control. The right choice depends on your goal, not one universal ranking.
How do I make a platformer jump feel good?
Use quick input response, a consistent jump arc, readable landings, and early gaps below the player’s maximum range. Test jump height, movement speed, gravity, and platform spacing together.
What should a first platformer include?
Use one player, one short level, simple movement, a few platforms, one or two hazards, a reward, a checkpoint if needed, and clear win and lose conditions.
Conclusion
The best way to learn how to make a platformer game is to finish a small playable level. Start with the loop, tune movement, place fair challenges, test with new players, and publish before expanding the idea.
Your first platformer does not need many features. It needs clear controls, a reachable goal, useful feedback, and a reason to try one more jump.